We don’t want to become a cooking site with recipes. We are a couple of folks who wish to make homemade food that tastes good and is simple. Bread is one of those foods that always seems to be a lot of work. This bread recipe yields a substantial loaf with an excellent crumb that closely approximates a store-bought loaf without any additives. It also takes no machine or heavy kneading to produce, with little active time investment.
Bread Seems Problematic
Baking bread seems to be a challenging task for many people. There are many variables, such as yeast, moisture levels, gluten creation, and lack of gluten creation, all of which contribute to bread not being simple. If you follow some recipes, you must learn a new language with words like autolyze, punch down, and window pane. Worse, several sites feature extravagantly decorated bread that resembles art more than food.
Well, bully for them! That is not us. We have busy lives, need sandwiches or toast, and want something made by hand. That is where this bread recipe came from. This bread does take time, but much of that time is not active, meaning you can walk away. This is also a ‘no-knead’ bread, meaning it doesn’t require a lot of hand or machine work to knead the dough.
Refining Others Work
Source callout. This was someone else’s recipe we modified. We wanted a base bread that had the benefits of both bread flour’s gluten and whole wheat nutrition. Next, we prefered a moister bread than the original recipe so we added butter to the mix. We also like a taller loaf for sandwiches, which requires adjustments to the amount of ingredients, pan size, and cook time. Finally, the original recipe had two problematic flaws that some people struggled with, which we simplified and will address.
Important Notes
Many recipe sites provide pictures and videos of the step-by-step process for making something. We won’t do that. Why? Because we feel it buries the most critical steps in a lot of noise. Breaking with tradition, we will provide you with some pointers on the essential steps and key considerations that will help you break this recipe. Also, if you haven’t read it, here is our guide to fixing bread.
First, we are using a less typical 9 x 5 x 3 pan size. We wanted a bigger loaf for larger slices. One of the primary keys to making bread is ensuring the correct pan size. If the pan is too small, the bread will not be supported and will have too much ‘muffin top’. Using a pan that is too large, the bread will not produce the shape we associate with sandwich bread because it cannot rise over the rim.
The Basics
- Always measure flour by weight or a spoon-and-level method. This is where the issue of having too wet or too dry dough can arise. No matter what you do, every recipe is going to be off based on the unidity of your kitchen. This is why we prefer to show a picture of what a hydrated dough looks like rather than simplify this further.
- Proof your yeast in warm water to ensure it is alive. While some yeast don’t technically need this, it is simple.
- Warm water is defined as 105°F-110°F, which is slightly above body temperature. Yeast dies if the water is too high above that level, and they won’t create lift if it is too low below that level.
Here is what proofing yeast looks like. Good yeast will foam in under a minute when mixed in warm water.

Water Content
To achieve good bread, you must balance the water content with the structure. This is especially tricky in no-knead breads. Because flours contain moisture, and eyeballing measuring cups full of water is not 100% accurate, you need to tune your dough. If the dough is too sticky, fold in a tablespoon of flour. If the dough is too dry, it won’t rise in the oven, so add a tablespoon of water. You want to see a shaggy dough like this.

Doubling
Because yeast bread is made with living organisims, the times in this recipe are approximate. Yeast is unfeeling and cannot be forced to work faster; they do not care about your schedule or timeline. To achieve a good rise in dough, you must allow the yeast to do its work, which takes time. We can encourage them to work faster through warm conditions. For example, we proof the bread in a room at 78°F. If your kitchen is 67°F, it will take more time. If it is 82°F, it will take less time.


Shaping
After your bulk or first rise, you shape the dough and place it into a greased and floured pan. You must pull and stretch the dough instead of simply rolling it out like a pie crust. By stretching and folding, the air bubbles are distributed more evenly, resulting in a better rise and a more even crumb. Dusting the dough with flour before the second rise will also help keep the bread from sticking to the tea towel or plastic covering it.


Now let’s make some bread!
Here is our recipe for a straightforward, simple, yet tasty homemade bread. Remember, being succesful will come down the following points.
- Make sure your yeast is alive.
- Make sure your water is 105-110F
- Adjust the mositure levels based on your kitchen and its humidyt.
- Give the yeast time to do their job.
- Use all the times as guidelines and not hard and fast rules.

Simple ‘No Knead’ Basic Sandwich Loaf
Equipment
- 1 Bread Pan 9x5x3
- 1 Bowl
- 1 Bowl Scrapper
- 1 Spatula
- 1 Dish Towel, moistened (or greased plastic wrap)
- Measuring Cups and Spoons
- 1 Dusting wand (handy if you bake a lot but not 100% necessary)
- 1 Digital Thermometer with a fine tip (the best way to check for doneness but not 100% necessary).
- 1 Whisk
Ingredients
- 2 cups bread flour Use the 'spoon and level' technique to fill cup.
- 2 cups whole wheat
- 2 1/4 tsp instant yeast or one packet
- 2 tsp fine salt
- 2 ½ tsp sugar
- 2 cups warm water (at 105-110F)
- 2 tbsp melted butter (cooled to room temp)
- Additional AP or bread flour (for adjusting dough and dusting surfaces)
- 1 tsp canola oil to grease pan (or nuetral flavored oil)
Instructions
- Gather the ingredients.
- In a large mixing bowl, combine flour yeast, salt and sugar.
- Use a whisk or spoon to blend well.
- In a small bowl combine water, butter (or oil).
- Slowly add wet ingredients into dry while mixing Use the bowl scraper (or spatuala) to fold dough onto itself until combined.
- Note: Water content of the flour varies. If the dough is too sticky, dust with small amounts of flour until it becomes workable by hand. If it is too dry, add a teaspoon of water. See photo of shaggy dough above as a guide to correct moisture level
- Cover the bowl with moistened dish towel or greased plastic wrap and set it in a draft-free place to rise for 4 hours.
- When dough has doubled in size, grease a 9-by-5-inch loaf pan with oil then dust with flour.
- Scrape the dough out onto a well-floured surface.
- With floured hands, shape the dough into a rough rectangle about 9 inches by 12 inches.
- Note: You may still need to adjust moisture level here. The dough should be workable without sticking to floured hands.
- Note: This bread doesn't need to be ‘punched down’ like others. Minimize the amount of time you work it to retain as much of the air bubbles as possible.
- Make 2 folds. With the short side facing you, fold 1/3 twards the middle. Fold the other third on top of the previous fold. Pinch seams
- Gently roll into round log and press to make it the square shape of the pan.
- Drop it into the prepared pan and gently push down and into corners to make it even.
- Dust top of loaf with flour
- Cover the pan loosely with a moistened dish towel, and set in a draft-free place for 1 hour, or until it is approximately double in size.
- About 45 minutes before the loaf is done rising, heat the oven to 425F.
- Remove the dish towel and dust the risen loaf with a little more flour.
- Place pan in middle rack of oven.
- Bake the loaf for 25 minutes, until it's a deep golden brown and sounds hollow when tapped. You are looking for an internal temp of 200-205F.
- Note: All ovens cook slightly differently. Use 25 minutes as a guide to start checking for being done. You may need 5-10 minutes more cook time.
- Note: These temps and times are at sea level. You may need adjust your cooking times and temps for your area.
- Remove from the oven and rest for 5 minutes
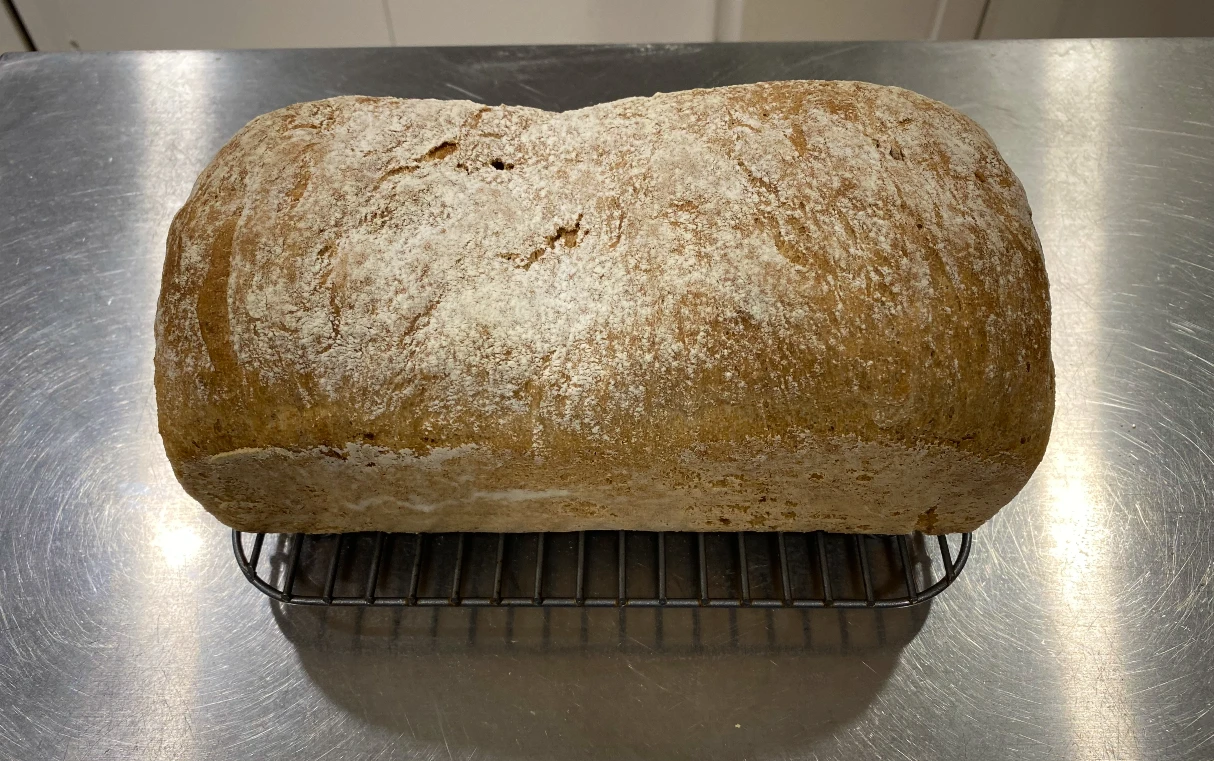
- Use a dish towel to turn out onto a cooling rack.
- Cool completely (2-3 hours) before slicing.
Wrapping up
We hope this bread works out for you as well as it did for us and that it makes bread more approachable. It doesn’t take rocket science to produce a good loaf. Once you have it set up, you can add to and modify it to fit your needs. You could add seeds for an extra crunch or raisins, cinnamon, and extra sugar for a sweeter dessert bread. The idea is to get something to work and then iterate over it to tune it to your needs.